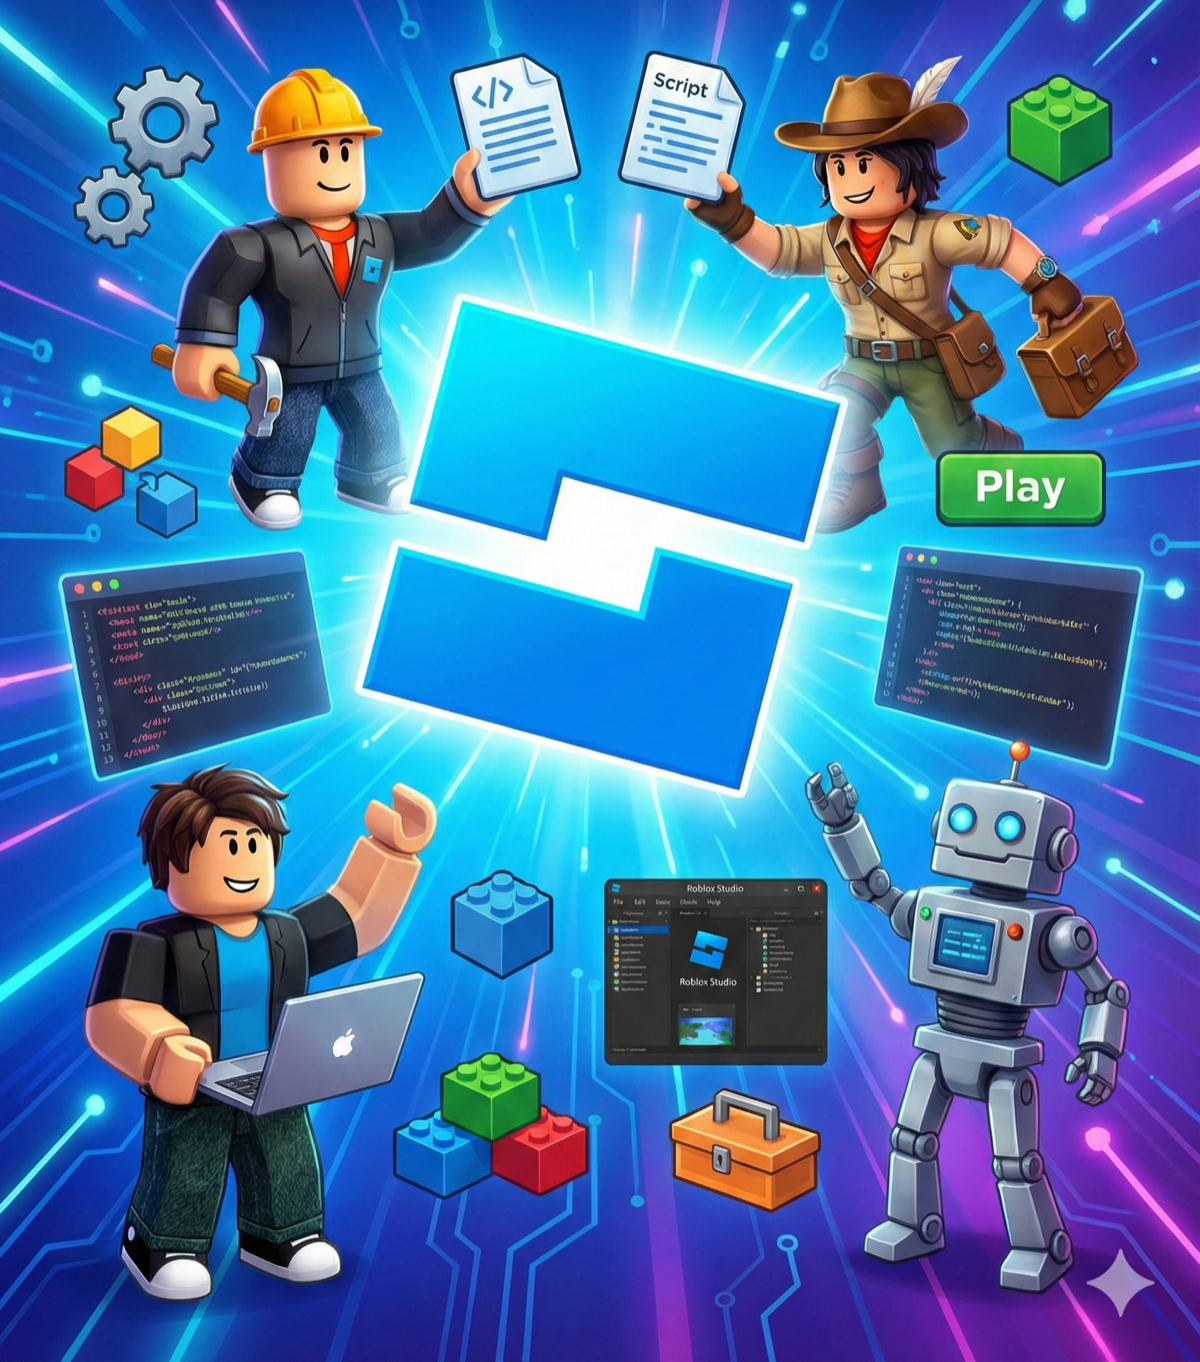
Roblox with
Generative AI
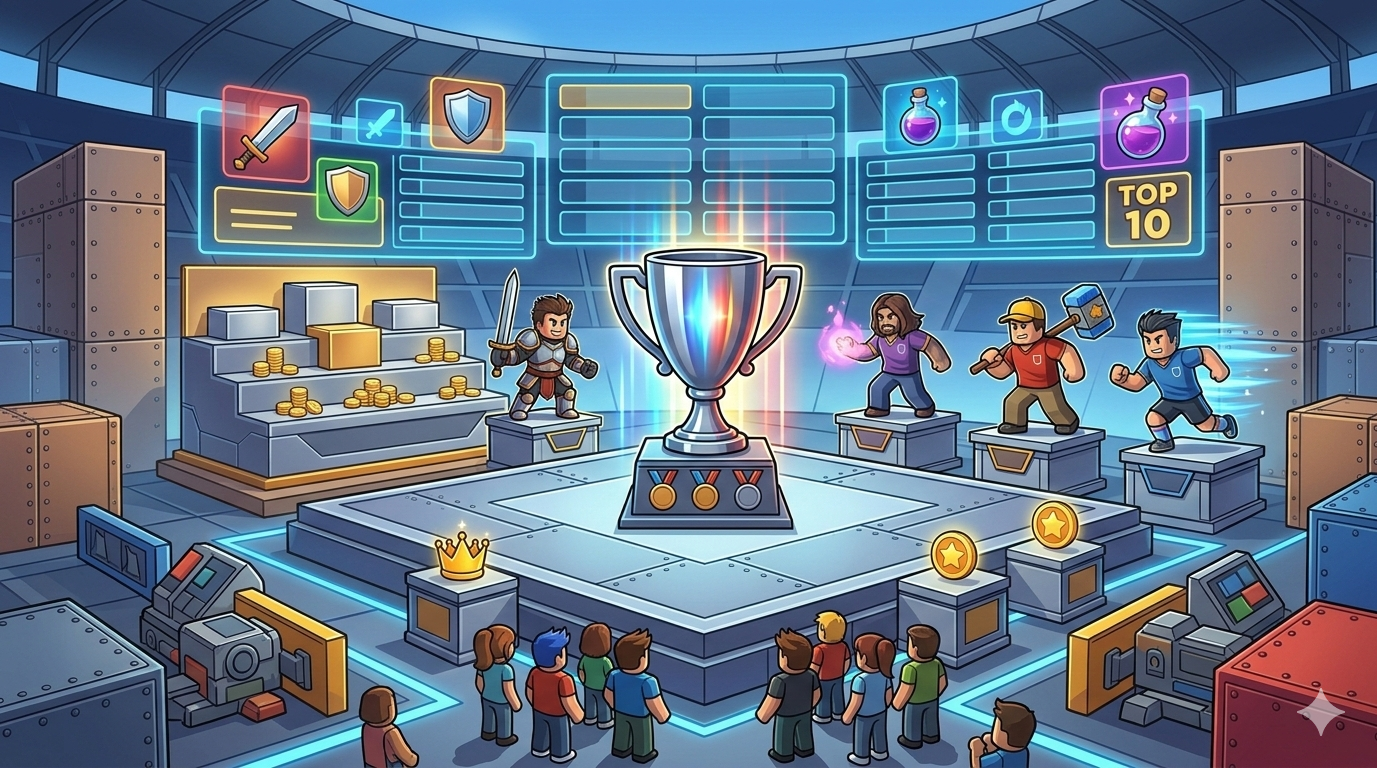
Master Lua scripting and game development with AI assistance. Learn character movement, damage systems, superpowers, and more. Build real games on Roblox.
5 Interactive Lessons
Character Movement
Use ChatGPT to create damage scripts and NPC follow scripts. Learn how to ask AI the right questions about Lua coding.
Topics covered:
- ✓ Creating damage scripts with AI
- ✓ Building NPC follow behavior
- ✓ Asking ChatGPT the right questions
- ✓ Where to add scripts & how many you need
Superpowers
Create a fireball tool with ChatGPT's help and learn how to customize tool properties.
Topics covered:
- ✓ Adding tools to StarterPack
- ✓ Naming tools and scripts
- ✓ Adjusting tool properties
- ✓ Making handles invisible
Superpowers Pt.2
Complete your fireball tool by understanding LocalScript vs Script and adding all necessary components.
Topics covered:
- ✓ LocalScript vs Script
- ✓ FireEvent setup
- ✓ Client-server communication
- ✓ Tool components
Enemy Spawners
Create automatic enemy spawners that generate NPCs at regular intervals for your game.
Topics covered:
- ✓ ServerStorage vs Workspace
- ✓ Spawner placement
- ✓ Anchoring objects
- ✓ Enemy generation loops
Leaderboards
Build a leaderboard system to track player points and display rankings when enemies are defeated.
Topics covered:
- ✓ LeaderStats setup
- ✓ Tracking player points
- ✓ Updating XP values
- ✓ Point systems
Character Movement
Video Duration: 5 minutes
Lesson Summary
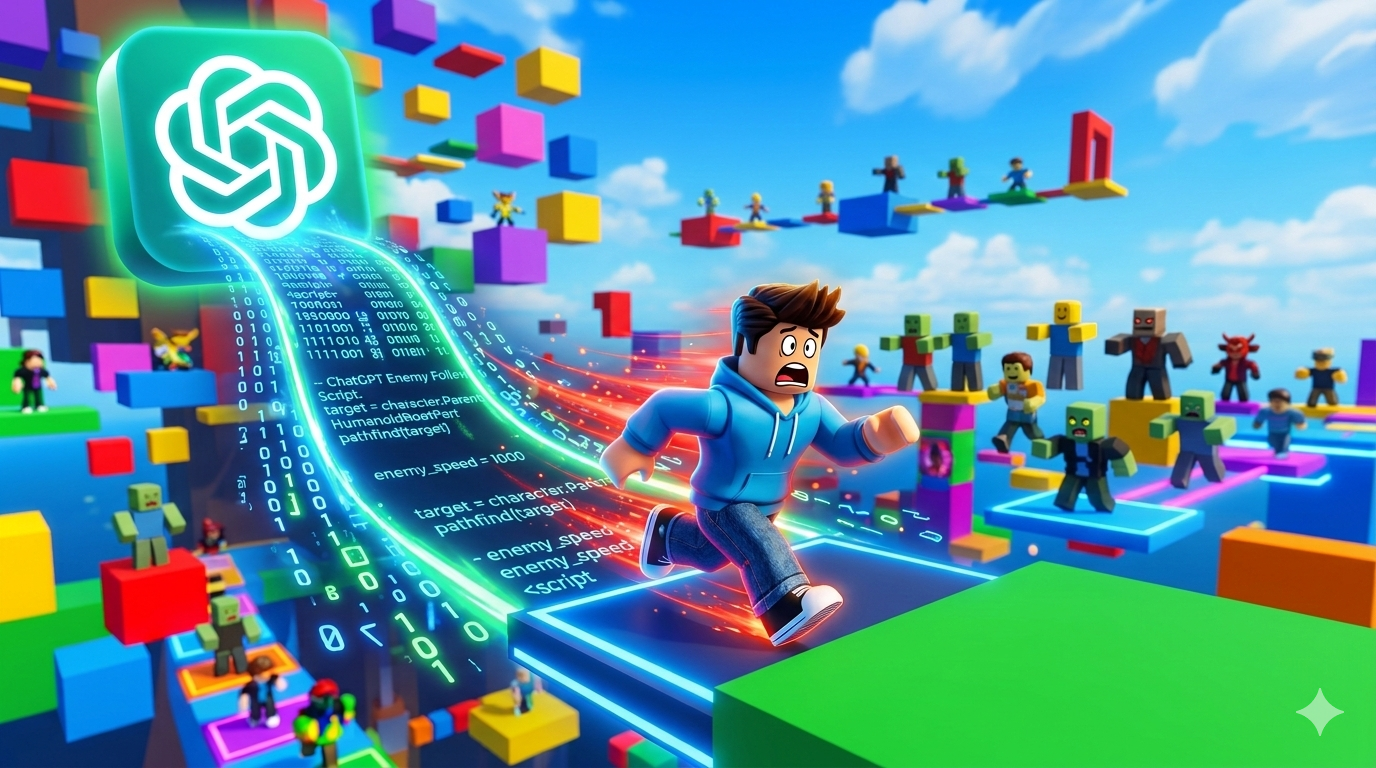
Using ChatGPT to Create Game Scripts
In this lesson, you'll learn how to use ChatGPT to create two essential scripts: a damage script and an NPC follow script. You'll discover how AI can help you write Lua code faster and understand what each part does.
Creating a Damage Script:
- Ask ChatGPT to create a script that damages players when they touch an object
- Learn where to place the script in Roblox Studio
- Understand how the damage calculation works
- Ask follow-up questions about specific code lines
Building an NPC Follow Script:
- Use AI to generate code that makes NPCs follow the player
- Learn how many scripts you need and where they go
- Understand NPC pathfinding basics
- Ask ChatGPT to explain confusing parts of the code
Questions to Ask ChatGPT:
- "Where do I add this script in Roblox Studio?"
- "What does this line of code do?"
- "How many scripts do I need for this feature?"
- "Can you explain this in simpler terms?"
- "What happens if I change this value?"
By the end of this lesson, you'll know how to use AI to create scripts and understand what makes them work!
Lesson Quiz
1. Arrange the steps in the correct order for creating an NPC with a script:
2. Where do you add a script in Roblox Studio?
3. What can ChatGPT help you with when scripting in Roblox?
Superpowers
Video Duration: 5 minutes
Lesson Summary
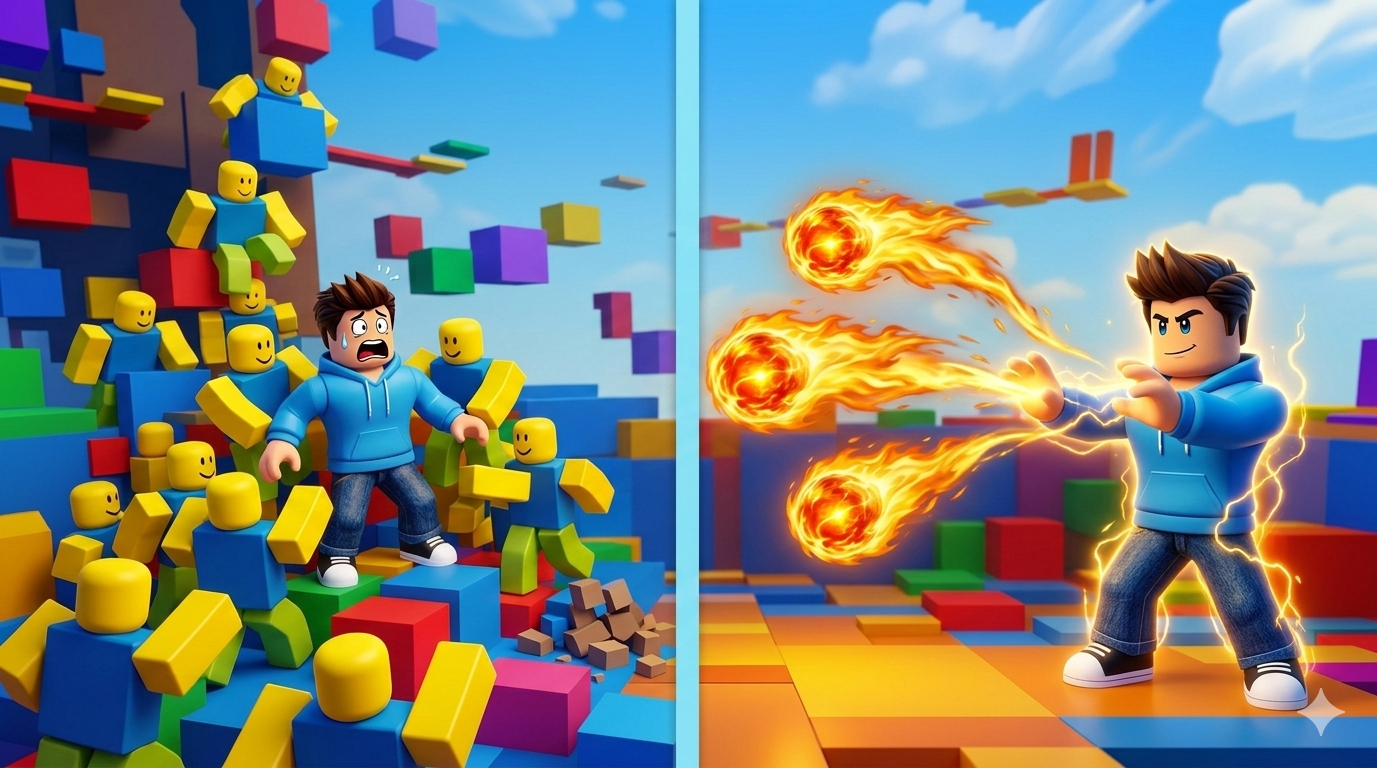
Creating Superpowers with ChatGPT
Learn how to add exciting abilities to your game by creating a fireball tool! You'll use ChatGPT to help generate scripts and learn about tool properties in Roblox.
Key Concepts:
- StarterPack - Where tools are added so players spawn with them
- Tool Properties - Settings that control how objects look and behave
- Transparency - Property to make parts invisible
- Naming - Organizing your tools and scripts with clear names
What You'll Create:
- Add a fireball tool to your game using ChatGPT
- Place the tool in StarterPack so players can use it
- Make the tool handle invisible so fireballs shoot from your arm
- Learn to name your tools and scripts for easy organization
Using ChatGPT to Help:
- Ask ChatGPT to create scripts for you
- Get explanations about what different properties mean
- Learn how properties control object appearance and behavior
- Find out where to add different game elements
By the end of this lesson, you'll have created your first superpower tool and learned how to customize it!
Lesson Quiz
1. To which section in the code do we add our fireball tool?
2. Why do we need to give names to our tools and scripts?
3. What property do we need to adjust for our fireball handle to make it invisible?
4. What are Properties in Roblox?
💡 Tip: If you're not sure, you can ask ChatGPT for an answer!
Superpowers Pt.2
Video Duration: 4 minutes
Lesson Summary
Completing the Fireball Tool
In this lesson, you'll finish building your fireball tool by understanding how LocalScript and Script work together. You'll learn about client-server communication and why both are needed for tools to work properly.
Required Components:
- Handle - The physical part that players hold
- LocalScript - Gets mouse direction (runs on player's computer)
- Script - Creates fireball and damage (runs on server)
- FireEvent - Sends information from client to server
Understanding Scripts:
- LocalScript - Runs on the client (player's computer), handles player input
- Script - Runs on the server, handles game logic and damage
- Why Both? - LocalScript detects where player clicks, Script creates the actual fireball
- RemoteEvent - Allows LocalScript and Script to communicate
How It Works:
- Player clicks to activate the tool (LocalScript detects this)
- LocalScript gets the mouse position
- LocalScript fires RemoteEvent to send position to server
- Server Script receives position and creates fireball
- Server handles damage when fireball hits something
By the end of this lesson, you'll understand client-server architecture and have a fully working fireball tool!
Lesson Quiz
1. What are all the things we need to add to the Fireball tool for it to shoot properly?
2. What is the difference between LocalScript and Script?
💡 Tip: You can ask ChatGPT if you're not sure!
3. What is the LocalScript responsible for in our Fireball tool?
Enemy Spawners
Video Duration: 5 minutes
Lesson Summary
Creating Enemy Spawners
Learn how to automatically spawn enemies in your game at regular intervals. This lesson covers storing enemy templates and creating spawner systems that generate NPCs for players to battle.
Key Concepts:
- ServerStorage - A container where you store objects that players can't see until they're cloned into the game
- Workspace - Where the actual enemy spawner part is placed in the game world
- Anchoring - Setting an object's Anchored property to true so it stays in place and isn't affected by physics
- Cloning - Creating copies of enemies from ServerStorage
How Enemy Spawners Work:
- Store your enemy model in ServerStorage as a template
- Place an anchored spawner part in Workspace where enemies should appear
- Script clones the enemy from ServerStorage
- Spawned enemy appears at the spawner's position
- Loop repeats to spawn enemies at intervals
Why Use ServerStorage?
- Keeps enemy templates hidden from players
- More efficient than having many enemies in Workspace from the start
- Allows you to spawn unlimited copies of the same enemy
- Reduces lag by only loading enemies when needed
By the end of this lesson, you'll have a working enemy spawner system that brings your game to life!
Lesson Quiz
1. What is ServerStorage in Roblox?
2. Where do we insert the enemy spawner in Roblox?
3. What does it mean to anchor an object?
💡 Tip: You can ask ChatGPT for the answer to this!
Leaderboards
Video Duration: 5 minutes
Lesson Summary
Building Leaderboard Systems
Learn how to track player progress with a leaderboard that displays stats. You'll create a leaderstats script, add XP rewards for defeating enemies, and watch as players compete for the top spot!
Key Concepts:
- leaderstats script - A script file in ServerScriptService that sets up the leaderboard
- XP System - Points that players earn by defeating enemies
- XP Script - Updates player stats when enemies are killed
- PlayerAdded Event - Detects when players join to set up their stats
What You'll Create:
- Create a leaderstats script in ServerScriptService
- Set up XP values that appear on the leaderboard
- Add an XP script that rewards players for enemy kills
- See real-time leaderboard updates as players earn points
How It Works:
- leaderstats script creates player stat folders when they join
- XP values are stored and displayed automatically
- XP script detects enemy deaths and awards points
- Leaderboard updates in real-time for all players to see
By the end of this lesson, you'll have a working leaderboard that tracks player progress and creates competition!